Blog Home

Watch this guitarist perform an acoustic set with his own robotic drummer

Arduino TeamOctober 11th, 2019

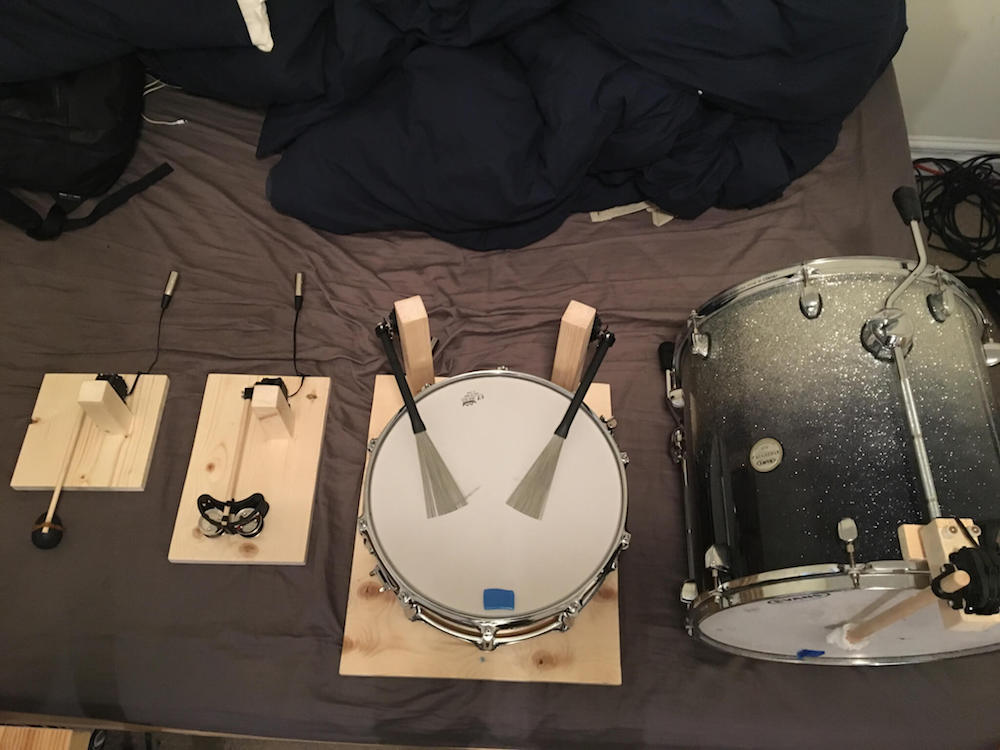
As shown in the video below, Tristan Calderbank is a very talented singer and guitarist, but what’s perhaps most interesting about his performance is the percussion section. Instead of a person (or an entire band) standing beside him, a robotic shaker, tambourine, snare drum and bass drum all play together under MIDI control.

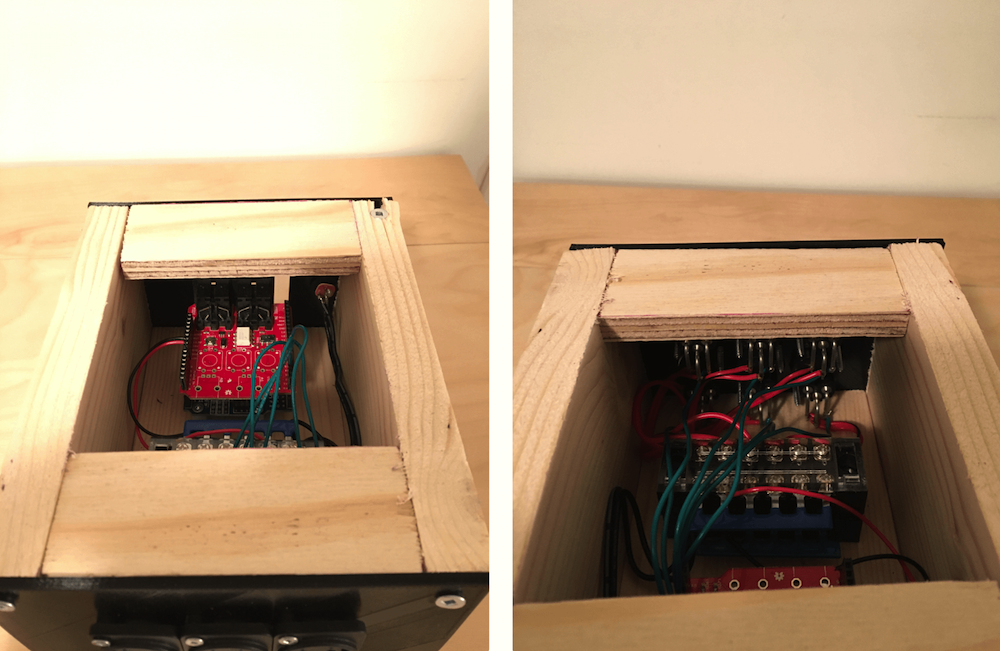
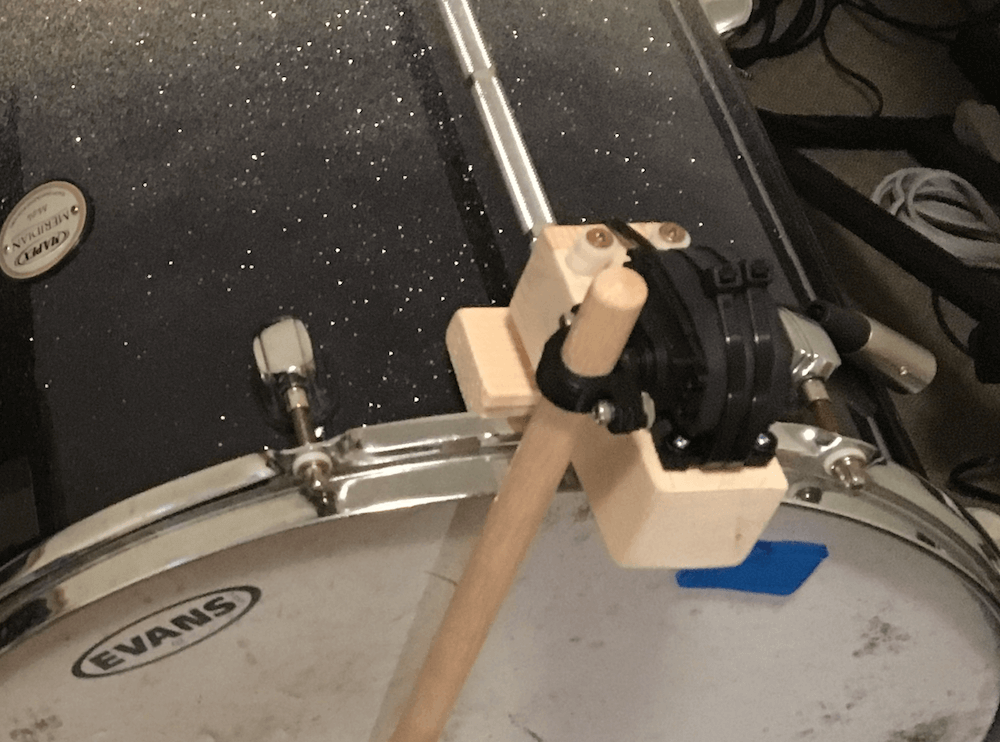
Each device is activated by an HS-311 servo—or two in the case of the snare—powered by an Arduino Uno and MIDI shield. Signals are sent to the Arduino by a laptop running Ableton Live, and servo velocity can be varied to further control sound. 

A write-up on Calderbank’s build process can be found here, including what didn’t work, plus info on sound isolation from the servos. Arduino code is available on GitHub.

Boards:Uno

One Response to “Watch this guitarist perform an acoustic set with his own robotic drummer”

  1. Robertbthomas Says:

    sir, need your help if you can. I was using the below code which was uploaded by someone to make a wav drum kit. the digital monitor is printing as I was hitting the piezo sensor, but the wav sound file is not playing from the sd card.

    I am not an electronic guy, but seeing many of the works here now overmuch interested in learning. This is my first project and approached two people already and they can’t help in this.

    Hope you could do a favour to me.

    Thanks

    Your work is awesome ! just loved the way the instruments were playing the tune along with you. Superb!

    #include // need to include the SD library
    //#include

    #define SD_ChipSelectPin 53 //example uses hardware SS pin 53 on Mega2560

    #include // also need to include this library…
    #include

    TMRpcm tmrpcm; // create an object for use in this sketch

    int knockSensor = 0;

    int knockSensor1 = 1;

    byte val = 0;
    byte val1 = 0;

    int THRESHOLD = 50;

    void setup() {
    // put your setup code here, to run once:

    Serial.begin(9600);

    tmrpcm.speakerPin = 46; //5,6,11 or 46 on Mega, 9 on Uno, Nano, etc

    //Serial.begin(9600);
    pinMode (46,OUTPUT);
    //digitalWrite(46,HIGH);
    if (!SD.begin (SD_ChipSelectPin)) { // see if the card is present and can be initialized:
    Serial.println (“SD fail”);
    return; // don’t do anything more if not
    }
    else{
    Serial.println (“Done”);
    }
    // tmrpcm.volume(12);
    //tmrpcm.play(“m.wav”); //the sound file “music” will play each time the arduino powers up, or is reset
    tmrpcm.play (“01Snare.wav”);

    }

    void loop() {
    // put your main code here, to run repeatedly:
    val = analogRead (knockSensor);
    val1 = analogRead (knockSensor1);

    if (val >=THRESHOLD) {
    tmrpcm.play (“01Snare.wav”);
    Serial.println (“SnareDrum!”);
    delay (50);
    }

    if (val1 >=THRESHOLD) {
    tmrpcm.play (“02SnareEdge.wav”);
    Serial.println (“SnareEdge!”);
    delay (50);
    }
    delay(50); // we have to make a delay to avoid overloading the serial port
    }

Leave a Reply

You must be logged in with your Arduino account to post a comment.