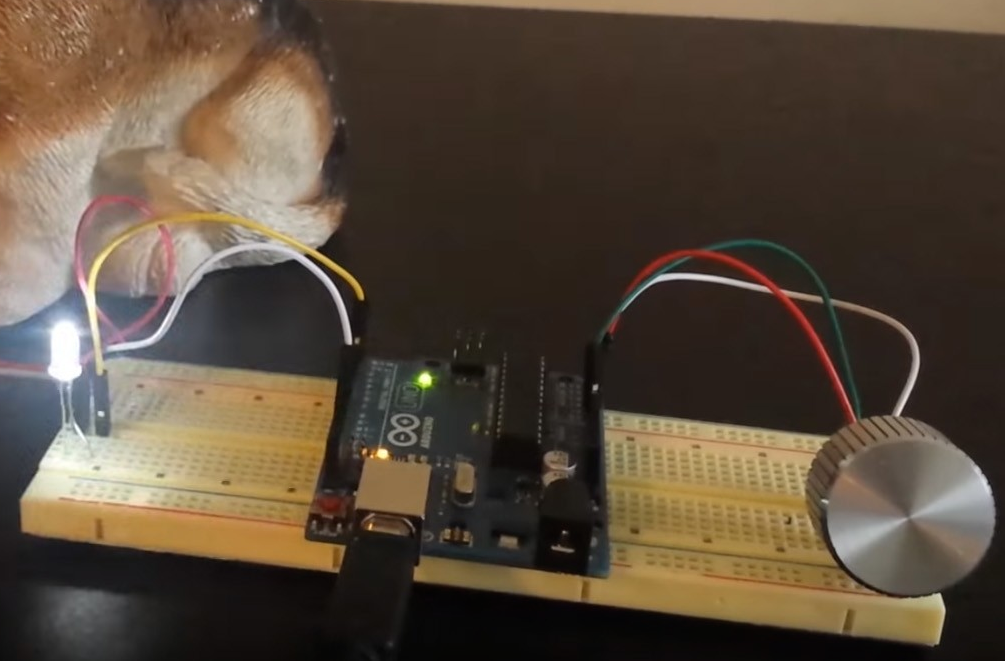
8-bit volume control for Arduino tone()

Connor Nishijima has devised a neat trick to give the standard Arduino Tone() function 256 smooth volume levels using PWM at an ultrasonic frequency, without any extra components. This allows for programmatic control of square waves with nothing other than a speaker connected to an Arduino Uno.
Normally to simulate an analog voltage with a digital-only pin of a microcontroller you’d use Pulse Width Modulation. This works great for LEDs because your eyes can’t the 490 / 976Hz flicker of the standard analogWrite() function. But for audio things are a bit more difficult. Because your ears can easily detect frequencies between 20 – 20,000Hz, any PWM with a frequency in this range is out.
Luckily, the ATmega328P allows you to change the clock prescalers for ultrasonic PWM! We need to use Timer0, because it can drive PWM at a max frequency of 62,500Hz, which even if you cut that in half would still be above your hearing range. Now that we have ultrasonic PWM on Pins 5 & 6, we configure Timer1 to fire an Interrupt Service Routine at a rate of “desired frequency” * 2.
Finally, inside the Timer1 ISR routine, we incorporate our volume trick. Instead of digitalWrite()’ing the pin HIGH and LOW like the normal Tone() function does, we analogWrite() “HIGH” with our volume value (0 – 255) and analogWrite(0) for “LOW”. Because of how fast the PWM is running, the user doesn’t hear the 62.5KHz PWM frequency, and instead perceives a 50% percent duty cycle as a speaker driven with only 2.5 volts! While a few volume levels do produce subtle artifacts to the sound, it mostly delivers quality 8-bit volume control to replace the standard Tone() function.
When all is said and done, you’ll be able to customize your project with unique loudness as you play anything from the iconic Nintendo sound to R2-D2’s beeps and bops. In Nishijima’s case, he developed this Arduino volume-control scheme to make an incessant, inconsistent artificial cricket to hide in a friend’s vent for the next few months… You can read more on its Hackaday.io page, as well as find documentation and ready-to-use example sketches GitHub.