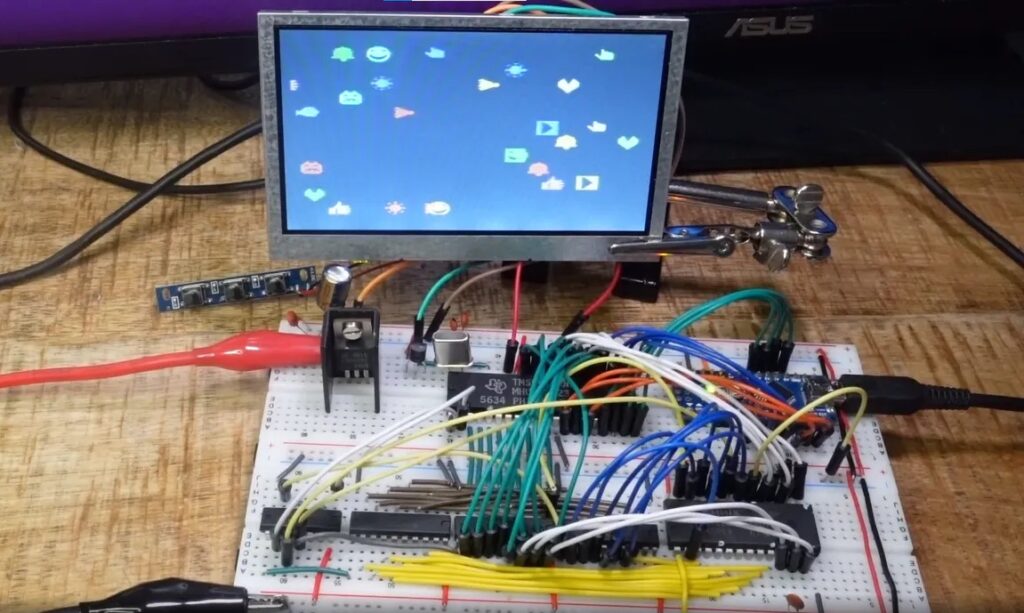
Experiment with ’80s graphics using this breadboard setup

Before standardized video cards came along, computer and video game console designers utilized video chips. Those simplified the design process and offloaded much of the work from the processor. Those video chips had hardcoded graphical building blocks and handled video generation. One of the most popular was the Texas Instruments TMS9918 used in the ColecoVision, TI-99/4, and MSX computers. This write-up from Doctor Volt will walk you through how to use an Arduino Nano to output graphics from the TMS9918.
You can follow this tutorial with just a breadboard, a TMS9918 VDP (video display processor), and a handful of compatible DRAM (or SRAM with D-flops) chips. The Arduino board acts as the rest of the computer in this setup. If you wanted to create a video game console, for example, the Nano would handle all the game’s logic. It would then tell the TMS9918 what graphics to display on the screen. The Nano controls the TMS9918 video the RAM chips, where it writes bytes that describe the onscreen content.
The way the TMS9918 handles graphics is what makes this experiment fun, as it provides a lot of insight into how video game and software developers of the late ’70s and early ’80s worked with limited resources. For instance, the best performance is achievable by displaying text instead of sprites or controlling individual pixels. So some video games would use text characters for their graphics, like an ampersand to represent an enemy.
Each text character is a hardcoded 8×8 pixel block. The TMS9918 allowed for custom foreground and background colors for characters, but only on a per-row basis. Developers of the era used those hardware limitations in creative ways that resulted in graphics that aren’t even identifiable as being text characters. Sprites are also possible in other modes and you can try it all for yourself by following the tutorial.