How IoT device provisioning to the Arduino IoT Cloud works

This article was written by Luigi Gubello, Arduino Security Team.
Be kind to the end user. At Arduino, we like to develop powerful ideas into simple tools. This is the spirit behind our team’s efforts in launching our IoT Cloud platform: making the Internet of Things accessible and easy for everyone. We can now offer a complete low-code IoT application development platform that seamlessly integrates with our hardware products: the Arduino IoT Cloud.
Behind such simplicity, you’ll always find a thorough design study carried out by our team in order to offer a user-friendly IoT cloud solution, which is suitable for everything from your first IoT project to state-of-the-art professional use — what the user needs to do is connect their compatible Arduino board to a computer and follow the steps displayed in the browser window. The process will configure the device to securely connect to the Arduino IoT Cloud, thus creating an Internet-connected device in minutes.
So how does Arduino IoT Cloud provisioning work?
TLS Client Authentication
In a previous blog post titled “Arduino Security Primer,” we began to introduce how the device provisioning works, showing how security is a fundamental requirement for us. The Arduino IoT Cloud security model is based on three key elements: an open-source library named ArduinoBearSSL, a Hardware Secure Element, and a device certificate provisioning for TLS Client Authentication.
The TLS Client Authentication (or TLS Mutual Authentication) is an authentication method in which the server verifies the client’s identity through a certificate to grant or deny access to the device. In the standard TLS handshake, only a client authenticating a server is required, while in TLS Client Authentication, the server also needs to authenticate the client by verifying its identity. If the server cannot trust the client’s identity, it does not authorize a connection.
In the TLS Client Authentication system, the device’s credentials are replaced by a signed certificate that guarantees the device identity, thereby eliminating some security risks such as credentials stealing, weak passwords, or brute-force attacks. During the device provisioning process, a certificate — signed by our certificate authority — is stored inside the hardware secure element of supported Arduino boards to be used when identity verification is required.
ArduinoECCX08 Library
In order to communicate with the Microchip secure element (ATECC508A or ATECC608A) mounted on some Arduino boards, our engineering team developed an open-source library (ArduinoECCX8) which is used for device provisioning by the Arduino IoT Cloud. This library is responsible for writing and reading data from the secure element. In particular — during the provisioning stage — it manages the generation of private keys, certificate signing requests, and certificate storage. This library can also be used to generate self-signed certificates and to sign JWT, using the public key generated by the crypto chip.
Arduino Provisioning Sketch
IoT device provisioning for the Arduino IoT Cloud is performed by an open-source Arduino sketch, Provisioning.ino, contained in our ArduinoIoTCloud library.

The entire device provisioning process is hidden behind a browser based user-friendly interface, so that users can quickly and easily connect their Arduino boards to the Arduino IoT Cloud by following a step-by-step procedure from the Device section of Arduino IoT Cloud page. During this process, the provisioning sketch is uploaded to the Arduino board and the open-source Arduino Create agent interacts with the browser content to help complete the device registration procedure. Taking a look at the provisioning source code to better understand what happens “behind the scenes,” it is possible to see how we use the hardware secure element.
The secure element’s slot 0 is used for storing the device private key, only the secure element can access its content. Slots 10, 11, and 12 are used for storing the compressed certificate, signed by Arduino’s certificate authority.
const int keySlot                                   = 0;
const int compressedCertSlot                        = 10;
const int serialNumberAndAuthorityKeyIdentifierSlot = 11;
const int deviceIdSlot                              = 12;
At first, the sketch configures and locks the hardware secure element. This process is required to begin using the device.
#include "ECCX08TLSConfig.h"

[...]

    if (!ECCX08.writeConfiguration(DEFAULT_ECCX08_TLS_CONFIG)) {
      Serial.println("Writing ECCX08 configuration failed!");
      while (1);
    }
After the hardware secure element has been configured, a private key and a certificate signing request (CSR) are generated.
 if (!ECCX08Cert.beginCSR(keySlot, true)) {
    Serial.println("Error starting CSR generation!");
    while (1);
  }

  String deviceId = promptAndReadLine("Please enter the device id: ");
  ECCX08Cert.setSubjectCommonName(deviceId);

  String csr = ECCX08Cert.endCSR();
The Create Agent takes the generated CSR and sends it to the server via the Arduino IoT Cloud API in order to receive a signed certificate. At this point the signed certificate is sent to the Arduino board and stored in the secure element.
  if (!ECCX08Cert.beginStorage(compressedCertSlot, serialNumberAndAuthorityKeyIdentifierSlot)) {
    Serial.println("Error starting ECCX08 storage!");
    while (1);
  }

[...]

  if (!ECCX08Cert.endStorage()) {
    Serial.println("Error storing ECCX08 compressed cert!");
    while (1);
  }
Once the signed certificate is successfully stored, the device provisioning is complete and the Arduino board is ready to connect to the Arduino IoT Cloud.
Self-Provisioning
The Arduino IoT Cloud facilitates the first approach to the Internet of Things, providing a simple user experience, but beneath its simplicity lies a powerful tool to develop professional projects. Our platform offers access to the Arduino IoT Cloud API, which is ideal for automation workflows.
In this use case, we will demonstrate how a user in need of provisioning a device fleet can automate and improve the process through the use of the Arduino IoT Cloud’s API and our open-source Arduino_JSON library. The following code is a self-provisioning sketch optimized for the Arduino Nano 33 IoT, which automatically takes care of registering the board to the Arduino IoT Cloud once uploaded to the board and executed.
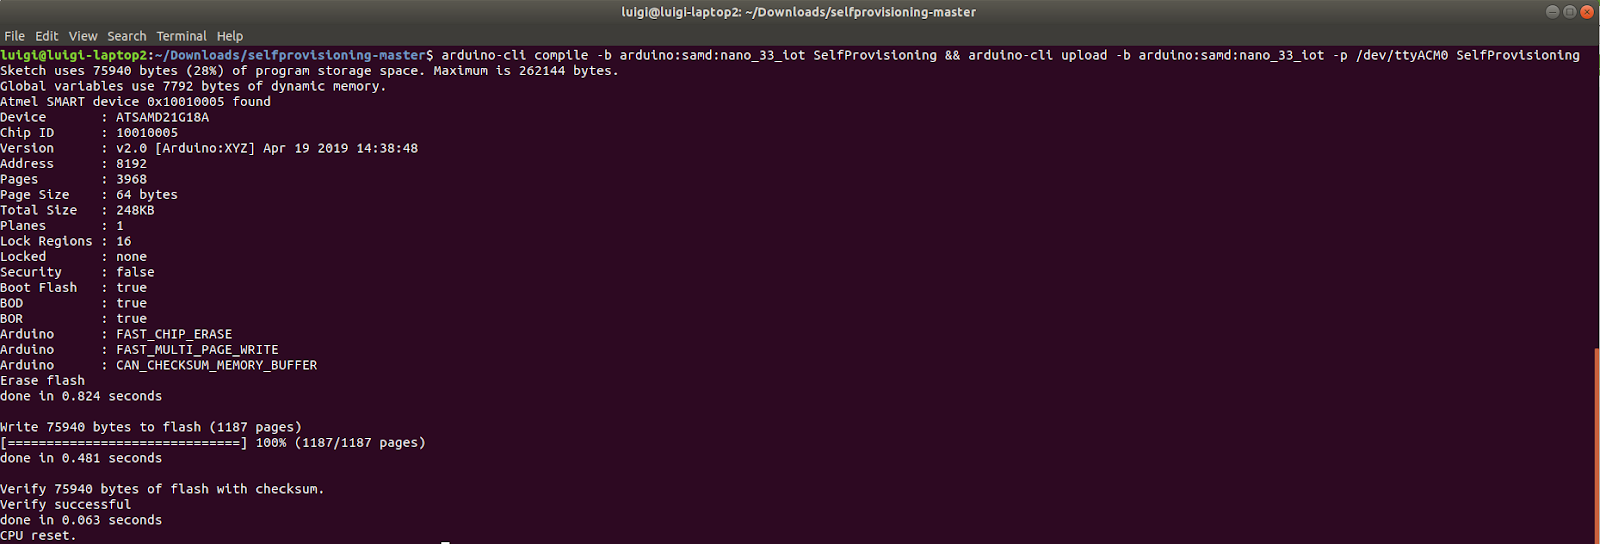
To further enhance this process, we use our open-source Arduino CLI to quickly upload the code to the board. All that’s needed is a simple command:
arduino-cli compile -b arduino:samd:nano_33_iot -u -p /dev/ttyACM0 SelfProvisioningThese are only a few of the features that show how the Arduino hardware products and cloud service can automate processes and create an interconnected system to improve users’ projects and businesses. There will be an increasing number of connected and communicating devices added in the near future, and we are working to make this IoT revolution user-friendly, accessible, and open-source.