DIY spectrum analyzer is an easy project for beginners

Spectrum analysis is a technique that allows someone to observe the amplitude of various frequency ranges within a signal. The most common use case is in the world of audio engineering, as it is useful for tuning audio output. It can, for example, show you that a particular audio signal has little amplitude in the low bands and that tells you that you should turn up the bass. If you want to try this for yourself, Sam Dartel designed a DIY spectrum analyzer that is easy for beginners to build.
For a spectrum analyzer to work, it needs to be able to break an electrical signal down into a series of frequency ranges. In an audio signal, frequency is pitch. That means that higher frequency ranges correspond to higher notes in the audio. This spectrum analyzer utilizes an MSGEQ7 IC, which is an equalizer filter, to pull seven frequency ranges from an audio signal. It outputs the peak of each band, giving a real-time reading of each band’s amplitude.
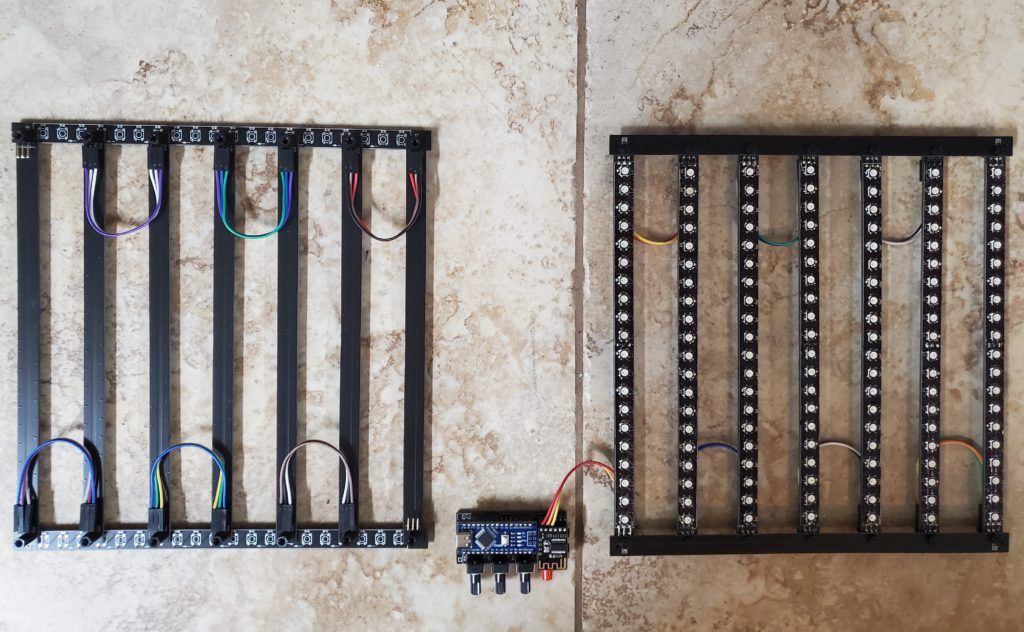
There are two versions of this spectrum analyzer: one powered by a battery and one powered via USB. Both are shields for An Arduino Nano board, which takes the output from the MSGEQ7 and uses the FastLED library to set the number of LEDs lit on seven WS2812B individually addressable RGB LED strips. Each strip is a 2D display and that is enough for the amplitude of each band, but the color and brightness of the LEDs introduce two other possible dimensions. This spectrum analyzer uses those for different effects patterns.
To build this spectrum analyzer, you’ll need to have one of the two shield PCB designs fabricated. All of the components are through-hole to make assembly easy.