Versatile multimeter made with Arduino Nano

If you ever wondered about building your own multimeter, YouTuber Electronoobs shows us just how to do so with an Arduino Nano.
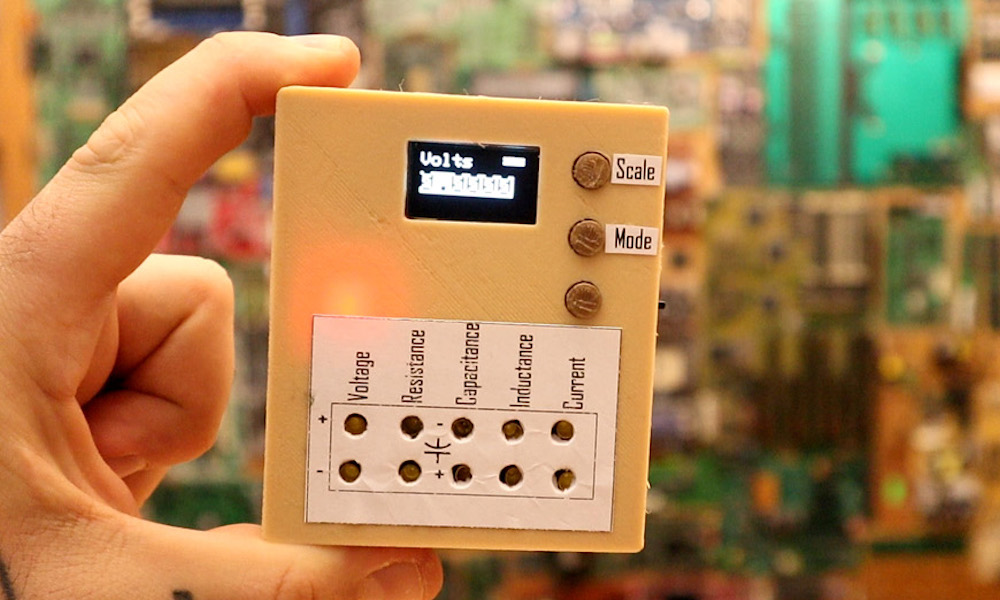
Aside from the Nano, he’s using a 128×64 OLED screen to display stats and battery level, and a 16-bit ADC for precise measurements. Power is provided by a small onboard LiPo battery, and he’s even included a charging module to help keep things topped off. Everything is housed inside a custom 3D-printed case.

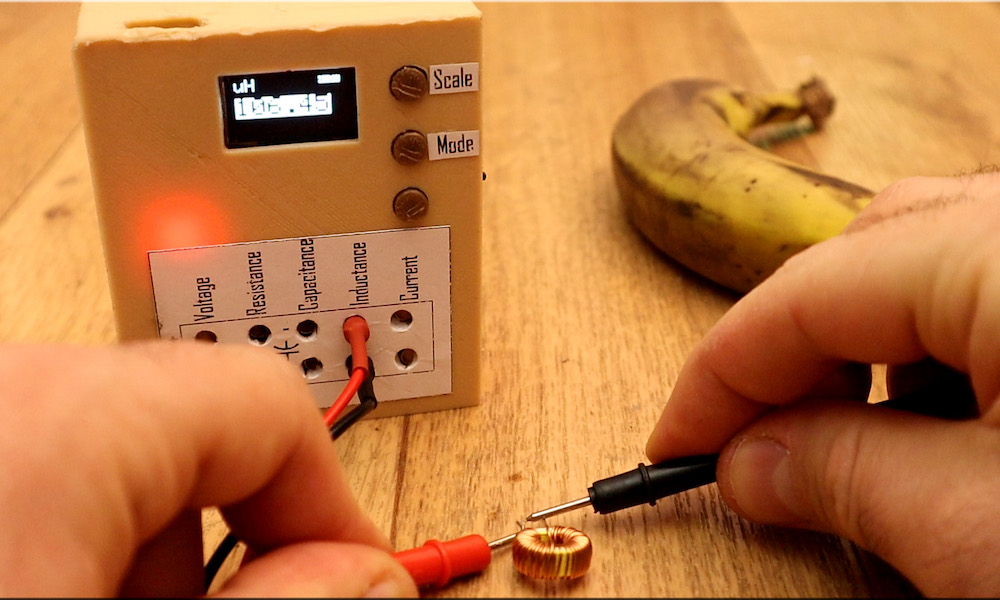
The device doesn’t just measure voltage, resistance, and current, but is capable of reading capacitance and inductance as well—measurements that you wouldn’t necessarily expect on a commercial meter. If you’d like to create your own, the schematic and code are available on Electronoobs’ site.
February 13th, 2019 at 08:36:06
Hi there i’m new to Arduino uno and i’m trying to write a program that will control a maglock from a webpage(Ethernet).When the button is clicked on webpage it should release the magnet for a few mins and return to lock mode again and if its open longer than that it should send a warning email.When program runs i want the pins to be off and not send through any voltage because its connected to a relay that’s arranged to be always on so the maglock will always be attached i just need the one command to run when the button is pressed to release the maglock for a few seconds and return to lock mode where pins should be off.
Please help i’ve been struggling with this for weeks now.
This is what i have so far:
#include
#include
// MAC address from Ethernet shield sticker under board
byte mac[] = { 0xDE, 0xAD, 0xBE, 0xEF, 0xFE, 0xED };
IPAddress ip(192 , 168 , 1 , 177); // IP address, may need to change depending on network
EthernetServer server(80); // create a server at port 80
String light = “OFF”;
void setup() {
Ethernet.begin(mac, ip);
server.begin();
Serial.begin(9600);
// initialize digital pin LED_BUILTIN as an output.
pinMode(LED_BUILTIN, OUTPUT);
}
// the loop function runs over and over again forever
void loop() {
digitalWrite(LED_BUILTIN, LOW); // turn the LED on (HIGH is the voltage level)
delay(1000000); // wait for a second
digitalWrite(LED_BUILTIN, LOW); // turn the LED off by making the voltage LOW
delay(1000000);
EthernetClient client = server.available(); // try to get client
digitalWrite(LED_BUILTIN, LOW);
if (client) {
boolean currentLineIsBlank = true;
String test = “”;
digitalWrite(LED_BUILTIN, LOW);
while (client.connected()) {
digitalWrite(LED_BUILTIN, LOW);
if (client.available()) {
digitalWrite(LED_BUILTIN, LOW);
char c = client.read();
Serial.write(c);
test.concat(c);
int position = test.indexOf(“LED=”);
if (test.substring(position) == “LED=ON”){
digitalWrite(LED_BUILTIN, HIGH);
delay(2000);
light = “OFF”;
}
if (c == ‘\n’ && currentLineIsBlank) {
// send a standard http response header
client.println(“HTTP/1.1 200 OK”);
client.println(“Content-Type: text/html”);
client.println(“Connection: close”);
client.println();
// send web page
client.println(“”);
client.println(“”);
client.println(“”);
client.println(“Arduino Web Page”);
client.println(“”);
client.println(“”);
client.println(“Hello from Arduino!”);
client.println(“A web page from the Arduino server”);
client.println(“”);
client.println(“ON”);
client.println(“”);
client.println(“Switch is “);
client.print(light);
client.println(“”);
client.println(“”);
break;
}
if (c == ‘\n’) {
currentLineIsBlank = true;
}
else if (c != ‘\r’) {
currentLineIsBlank = false;
}
}
}
}
}
February 14th, 2019 at 11:19:39
Thks for article.