Designing an Arduino-powered split-flap display
If you’d like a split-flap display with numbers and letters, options tend to be quite expensive. This though was no problem for hacker “scottbez1” who reports that after “only” two-plus years of work, he has produced a split-flap assembly that plugs into an Arduino Uno as a sort of external shield.
The device employs inexpensive stepper motors to click through letters, numbers, and even some punctuation, using cutout PVC ID display stock to show the characters. Cleverly, the PCB he designed for it can function as a motor driver or be split in two to function as a sensor board.
I’ve always loved these electro-mechanical displays, but you can’t buy them for a reasonable price, so I figured I’d try making them myself (plus it’s more fun that way!). Ultimately I wanted to design a split-flap display that can be built at home in small/single quantities and can be customized and put together by an intermediate hobbyist for not too much money.
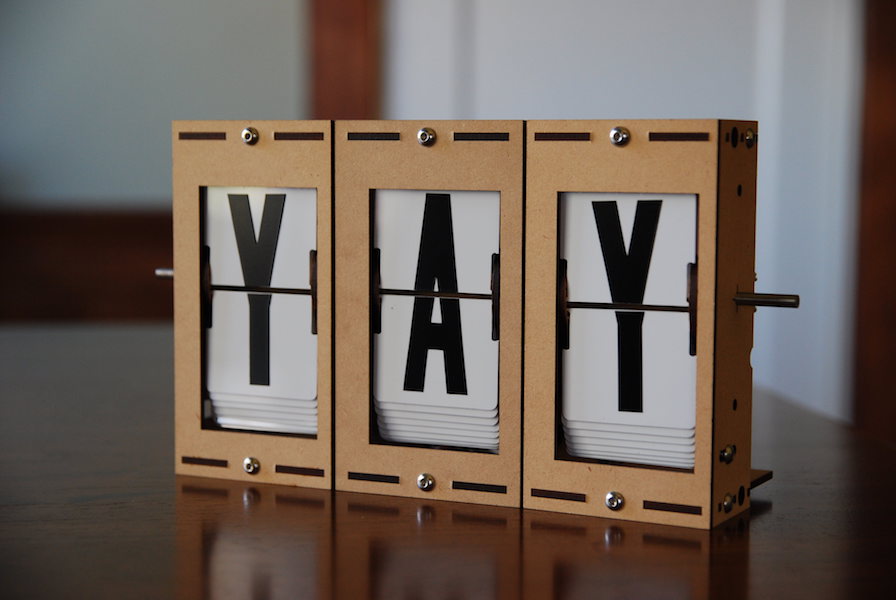
The design I settled on uses PVC ID badge cards for the flaps, store-bought vinyl stickers for the letters, and is driven by a cheap 28BYJ-48 stepper motor. The enclosure and moving parts are all made from laser-cut MDF, which can be easily ordered online. To control them, I designed a driver board that can be hand-soldered and plugs into an Arduino like a shield.
The entire build story can be found here and more details including Arduino code are available on GitHub. If you’d just like to see and hear it flapping away, check out the video below!