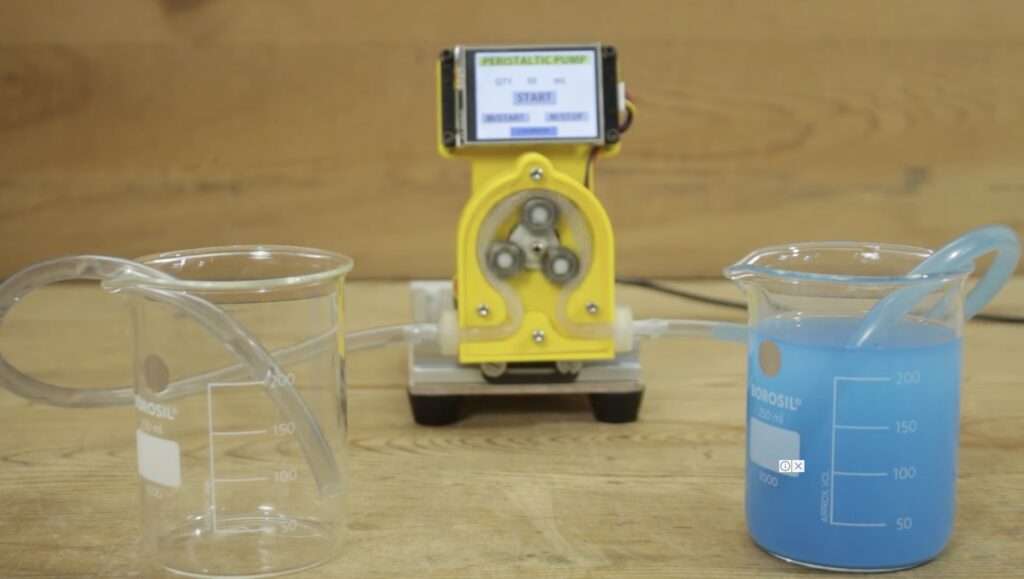
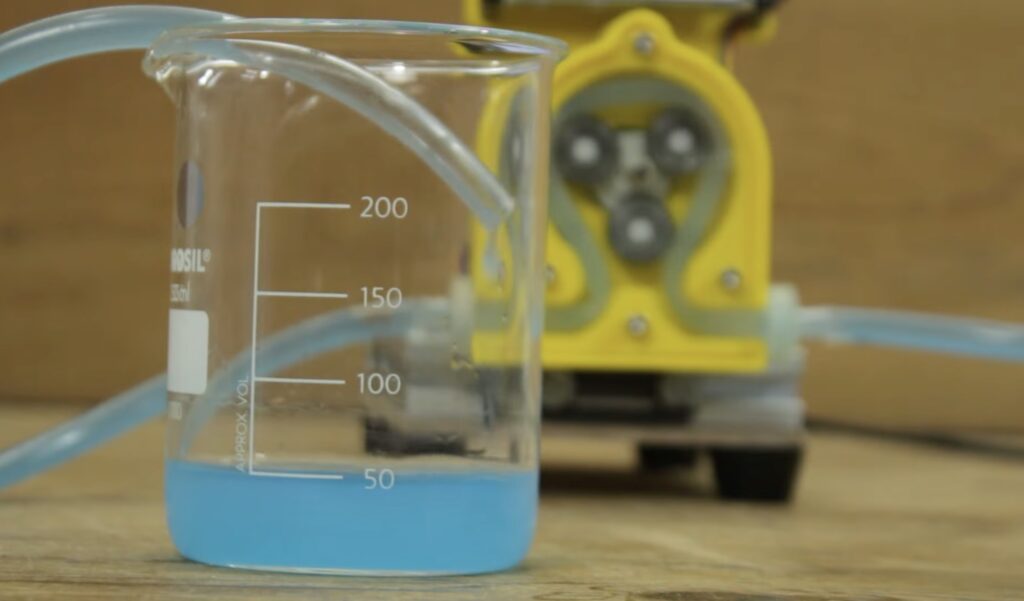
A DIY peristaltic pump controlled by an Arduino

There are many different fluid pumping mechanisms to choose from, but the peristaltic pump is a great choice when you don’t want the liquid to contact any moving parts. That is ideal for beverage dispensers and medical equipment, because the liquid only touches the tube it runs through and that is easy to clean or replace. If you want to build your own peristaltic pump, YouTuber Mr Innovative created a DIY design that utilizes an Arduino for precise control.
A peristaltic pump works by pushing the liquid through a flexible tube. Inside the pump there are rollers that spin while pushing against the tube, forcing the liquid (or air) along. The rollers only make contact with the outside of the tube, so there is no risk of contamination. To clean the inside of the tube, one only needs to run a solution through the pump. If contamination is a serious concern, as would be the case for medical equipment, it is easy and affordable to replace the entire tube.

Mr Innovative kept this DIY peristaltic pump design simple. The 3D-printed pump housing mounts onto a stepper motor, which turns the rollers. Those rollers are three skate bearings mounted in a triangular formation. The flexible tube runs through the housing around the outside of the rollers. As with other projects from Mr Innovative, this uses an Arduino Nano mounted onto a custom driver board to control the stepper motor. A Nextion LCD touchscreen lets the user enter how much liquid to pump. To calibrate that, the user simply runs the pump for one minute and measures the amount of liquid pumped during that time.