Control a thermal printer with your Arduino
You would probably recognize a thermal printer as the thing that spits out receipts at a cash register. They offer a two key advantages: they do not require ink cartridges and they are compact. But because they print by applying heat to special paper that darkens when hot, they have low resolution and fidelity. If that’s a price you’re willing to pay for your next project, then Vaclav Krejci (AKA Upir on YouTube) has a great video tutorial that will show you how to control a thermal printer with your Arduino.
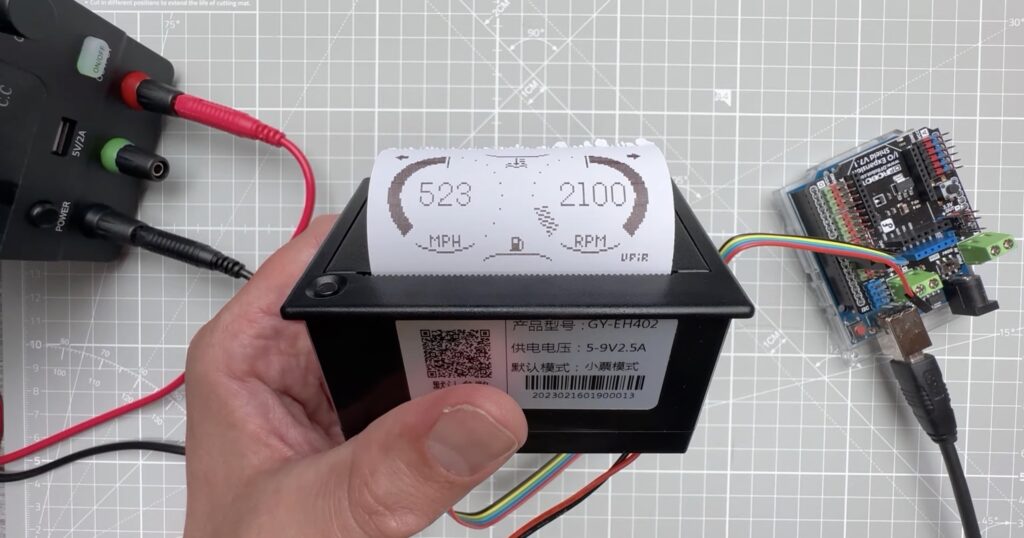
This model, a QR204, and most others like it, receive print content through an RS232 serial communications port. It has an internal microcontroller that lets it interpret what it receives over serial. If that is simple text, then it will print the text and move to the next line. But it also accepts commands in the form of special characters to modify the output, such as increasing the text size. It can also print low-resolution images sent in the form of bitmap arrays. Krejci explains how to do all of that in the video.
To follow along, you can use an Arduino Uno like Krejci or any other Arduino board. You only need to connect five jumper wires from the printer to the Arduino: ground, RX, TX, DTR, and NC. From there, all you need is a simple Sketch that sends serial output at 9600 baud through the pins you define. To print a line of text, use the standard Serial.println(“your text”) function. When you want to do something more complex, like print an image, Krejci has instructions on how to do so.