DIY vacuum gauge controller saves big money

Measuring vacuum works in the same way as measuring any other gas pressure, because a perfect vacuum is unachievable and so it is a measure of how close to zero the air pressure inside a container becomes. But typical pressure gauges aren’t meant to measure pressures below ambient atmospheric pressure (vacuums). That requires special sensors and Advanced Tinkering built his own vacuum gauge controller to handle them.
The vacuum sensors that Advanced Tinkering purchased were designed for use with a proprietary controller that costs thousands of dollars. The sensors don’t just send an analog signal corresponding to pressure level (which would be very easy to read), but also status information. Even with that added complexity, the proprietary controller is very expensive for what it is. Advanced Tinkering correctly assumed that he could replicate its functionality with affordable off-the-shelf hardware. The communication protocols for his sensors are well-defined in published documents, which made them much easier to work with.

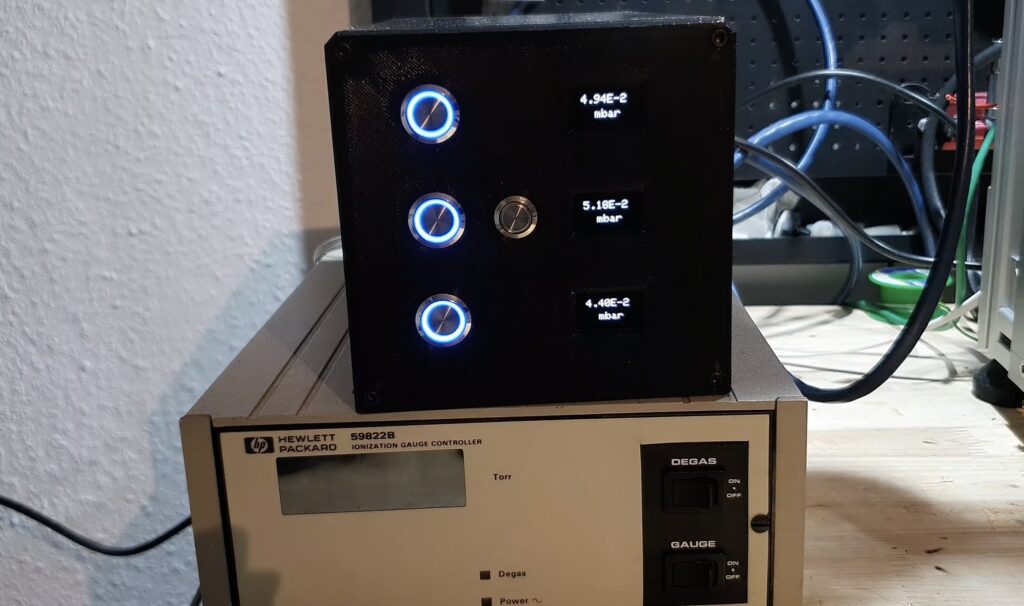
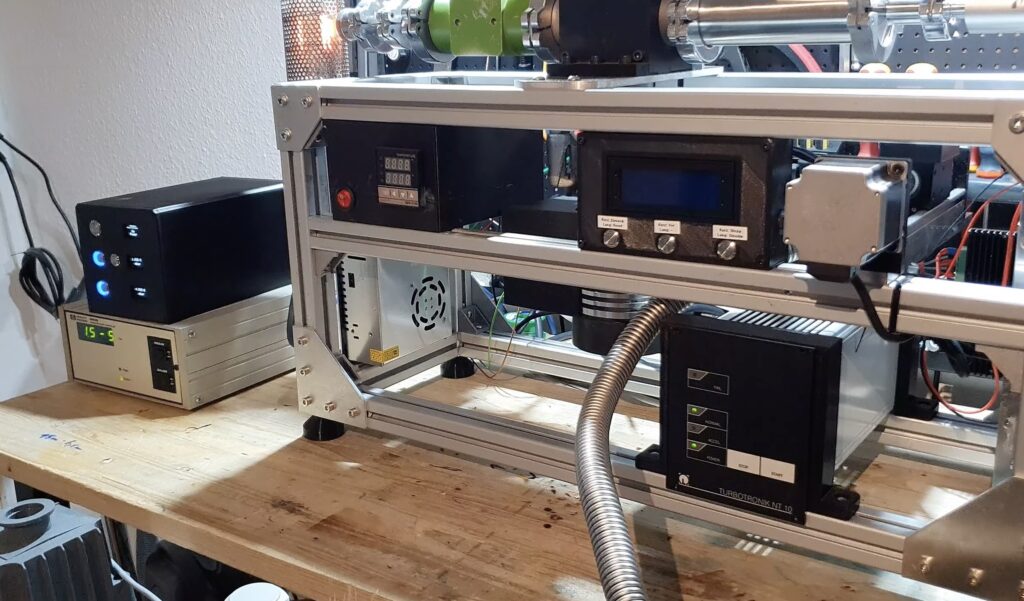
Advanced Tinkering used an Arduino Nano board for this project. It does need to read analog signals from each of the three sensors, so he paired the Arduino with an ADC (analog-to-digital) module and a multiplexer. Each vacuum sensor also received its own dedicated control button and OLED screen, the latter of which displays status messages and the pressure reading from each sensor in millibars. The buttons let Advanced Tinkering activate each sensor. All of those components went inside a tidy 3D-printed enclosure that matches the aesthetic of instruments like these. In total, this project cost Advanced Tinkering only about 5% of what he would have spent on the commercial vacuum gauge controller.
Leave a Reply
You must be logged in with your Arduino account to post a comment.