Creating a ChatGPT client with the Arduino GIGA R1 WiFi and GIGA Display Shield
ChatGPT is certainly the best-known large language model (LLM) available today and it has a lot to offer. But you can’t run it locally and instead you must use OpenAI’s online service to access its functionality. That doesn’t, however, mean that you’re out of luck if you want to use ChatGPT on your own DIY devices. As Shakhizat Nurgaliyev shows, you can build your own ChatGPT client powered by Arduino.
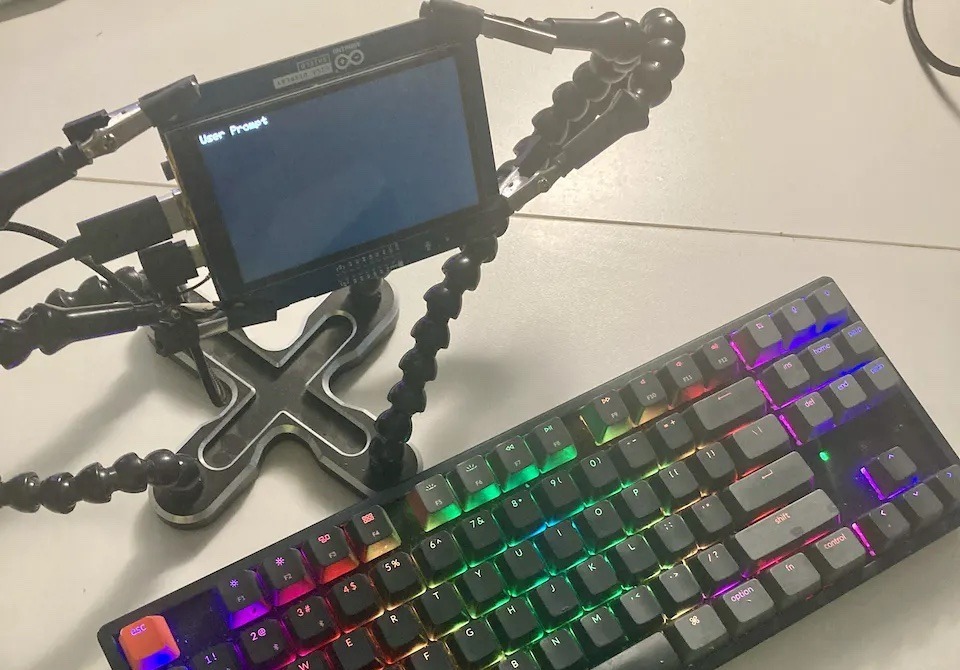
Because ChatGPT isn’t available offline, the ArduinoGPT project takes advantage of OpenAI’s API. That lets you access ChatGPT through your sketches if your development board has a network adapter. In this case, Nurgaliyev used an Arduino GIGA R1 WiFi. That can reach the OpenAI API through a wireless network in order to send prompts to ChatGPT and receive responses.
The Arduino GIGA R1 WiFi is also ideal because it possesses a very unique feature: a USB-A port and the ability to act as a USB host. That lets the user connect a standard USB keyboard and type prompts without any other hardware.
Nurgaliyev paired that board with a new Arduino GIGA Display Shield, which provides 3.97″ of LCD touchscreen at a resolution of 480×800. That includes additional hardware, like a microphone and inertial measurement unit (IMU), but they aren’t necessary for this project.
The ArduinoGPT sketch connects to the user’s Wi-Fi network, then lets the user type in a prompt. It sends that prompt to ChatGPT through the OpenAI API and waits for a response. The user can choose to receive the entire response as a single block of text, or as a stream of several blocks sent as ChatGPT generates them.
While it would be nice to have the ability to run ChatGPT offline, this may be the next best thing.