Power of Python for Arduino Nano RP2040 Connect and Nano 33 BLE

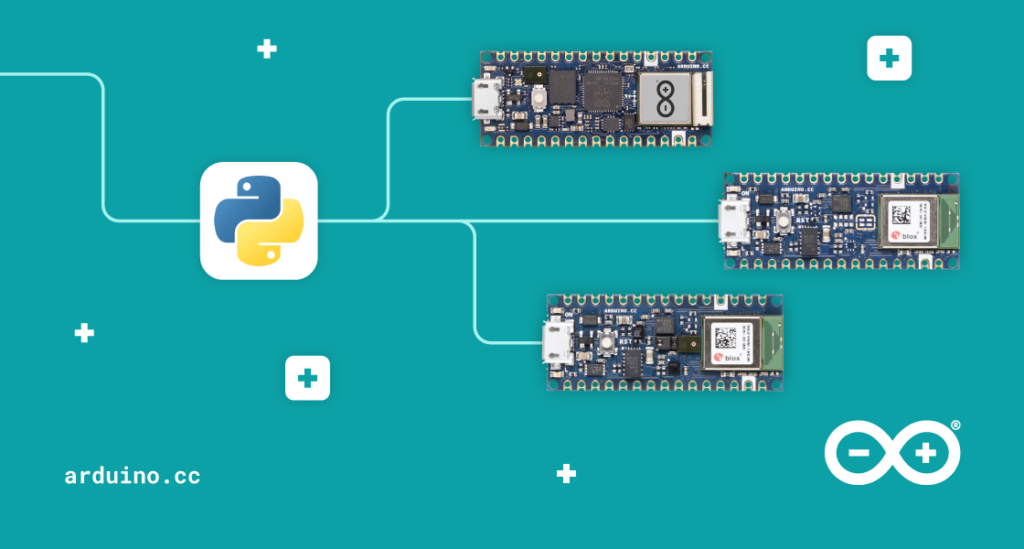
Python support for three of the hottest Arduino boards out there is now yours. Through our partnership with OpenMV, the Nano RP2040 Connect, Nano 33 BLE and Nano 33 BLE Sense can now be programmed with the popular MicroPython language. Which means you get OpenMV’s powerful computer vision and machine learning capabilities thrown in.
OpenMV IDE and MicroPython Editor
While you can’t use Python directly with the Arduino IDE, you can use the OpenMV editor, and its version of MicroPython. From the editor, you can install MicroPython and load your scripts directly to the supported Arduino boards.
MicroPython is a great implementation of the full Python programming language, designed to run on microcontrollers. There’s extensive documentation all across the web, which is another huge advantage of learning and using Python for your Arduino projects.
There are so many reasons to get excited about MicroPython for these new Arduino boards. To name a few…
- OpenMV’s machine learning and computer vision tools.
- Great for computer science education.
- Easy for web developers and coders to switch from other platforms to Arduino.
- Huge number of MicroPython libraries, tutorials, guides and support online.
- Simple to upgrade hardware as project demands increase (eg, upgrade from a Nano RP2040 Connect to a Portenta H7).
There are also lots of Arduino + Python projects that have been posted over the years. Now you can add the Nano devices to those projects and expand on them with their new MicroPython capabilities.

Get Started with Python on Arduino
To help you get cracking, we’ve put together a few guides for each of the supported Arduino boards. The Portanta H7 already supports MicroPython, but we’ve included it below for the sake of completion.
Firstly you’ll need to install the OpenMV IDE on your computer. You can grab that from the OpenMV download page right here.
If it’s the first time you’ve used Python on your Arduino board, you’ll need to follow a few steps to get everything working together. Depending on which board you’re using, you might need to update the bootloader to make it compatible with OpenMV. Then you can connect to the board to upload the latest firmware and make it compatible with the editor.
There are guides to take you through the process for each board, and it’s not a complex task. Once completed, your boards will be ready to program them using MicroPython.
These simple tutorials will get you moving quickly.
Furthermore, you can find a few examples of MicroPython scripts you can upload and run on the various boards, too. It’s a great way to test the Python waters with your Arduino boards, and pick up a couple of hints and tips on using the language.
If you’ve got any resources, hints or tips of your own when it comes to learning or using Python, please do share them with the community! We want to hear all about your experiences, and any projects you build using Arduino and Python together.
We’ll keep you updated as we add more documentation and tutorials for MicroPython over on Arduino Docs, so keep an eye out for those.