How to make a shield for your arduino
February 17th, 2012
— 
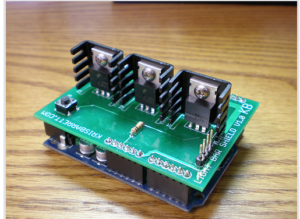
As a hobbyist, we often want to extend the functionality of our arduino board. In order to minimize wires and maximize functionality, we design special need-based ‘shields‘. A useful step by step tutorial that I found here , breaks down the process into the following stages:
1) Part selection
2) Prototyping the board
3) Schematic design
4) PCB Layout
5) PCB Fabrication
[Via: krisbarrett]
February 17th, 2012 at 09:16:43
(2) and (3) are in the wrong order!
You need to have a design before you can prototype it!
In fact, you need at least an outline design before you can select the parts to implement it!
1) Capture your requirements – what do you want to do?
2) Design a solution – including selecting parts.
3) Prototype it – and tweak the design as required until it fully meets the requirements.
4) Capture your final schematic
5) PCB Layout
6) PCB Fabrication
Of course, none of this is specific to Arduino!