Build a Touchscreen Controlled Marionette with Intel Galileo
Making gets really interesting and fun especially when mixing laser cut shapes, servo motor, tft screen, MDF, plexiglass and Intel Galileo Gen 2. After you assemble the parts and follow the steps of this tutorial, you’ll be able to control the puppet through an interface on the screen. Enjoy the tutorial!
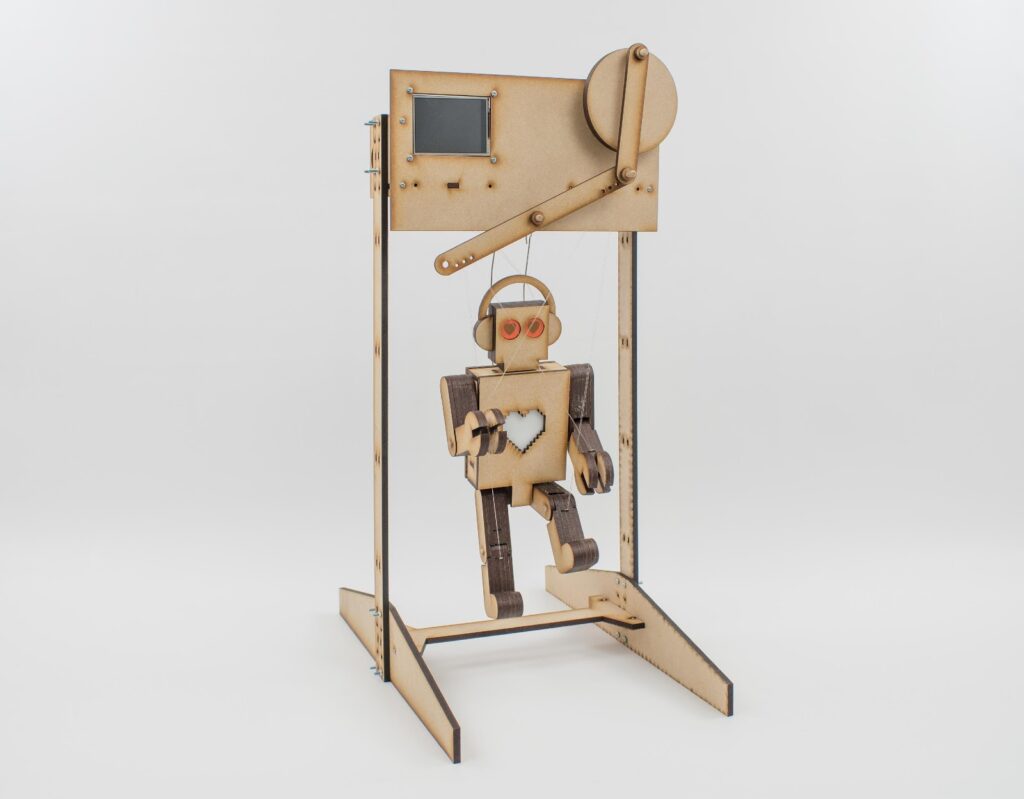
We are going to have a little fun with the Intel® Galileo development board. This time around, we’ll make a simple puppet control system. We’ve put together a “running robot” marionette with a simple mechanism that uses a continuous servo. We’ll be use a touchscreen interface to control various outputs using sliders and switches.
As always, you can modify the designs to suit your needs. We will teach you how to incorporate touchscreens, and make the interface necessary for controlling the Intel® Galileo Gen 2 board.
Just so you know, the instructions this time around are quite long. That’s due to the assembly of the marionette. I would review the assembly instructions fully before attempting to put it together. While it looks long and complicated, if you group the parts, it much simpler.
So, let’s start the puppet show!
Follow the link and start making!
February 14th, 2015 at 00:08:32
Cool, can you do this with the Leonardo, or the Uno?
If not why?
February 20th, 2015 at 17:26:53
We haven’t tried with other boards. The purpose of this tutorial is to teach people how to use Servo and Touchscreen with the Galileo. We used a ported version of LCD library to interface with the touchscreen since the hardware works differently behind the scenes.