Time to explore Linux on Intel® Galileo Gen 2 – Tutorial
The new tutorial we want to present you today is more like a guide giving you some basic information about the benefit of accessing Linux shell in Intel® Galileo Gen 2. It also shows you in which way the Intel® Galileo Gen 2 is not only an advanced, more powerful version of Arduino Uno that happens to be layered on top of a Linux system. There is definitely much more that can be done with it and the Linux shell: this tutorial is an entry point to explore it and learn how to:
– preparing a system image;
– accessing the shell in 4 different ways;
– examining the workflow of copying a python script into Intel® Galileo Gen 2 through scp (or pscp);
– running an Arduino sketch;
-retrieving files from Intel® Galileo Gen 2.
The Intel® Galileo Gen 2 includes much of the Arduino Uno’s functionality. Similar to an Uno, it can create a wide variety interactive objects that use input sensors and various outputs. After exploring the many possibilities of using the “Arduino part” of the Intel® Galileo Gen 2 this way, one might start to wonder: what is the next step?
Perhaps you want to write more complex programs using your favorite scripting language like python or javascript. Maybe you’re interested in computer vision or want to have full control over the board and find out more about the inner workings. By accessing to the Linux core, all these will be possible to achieve.
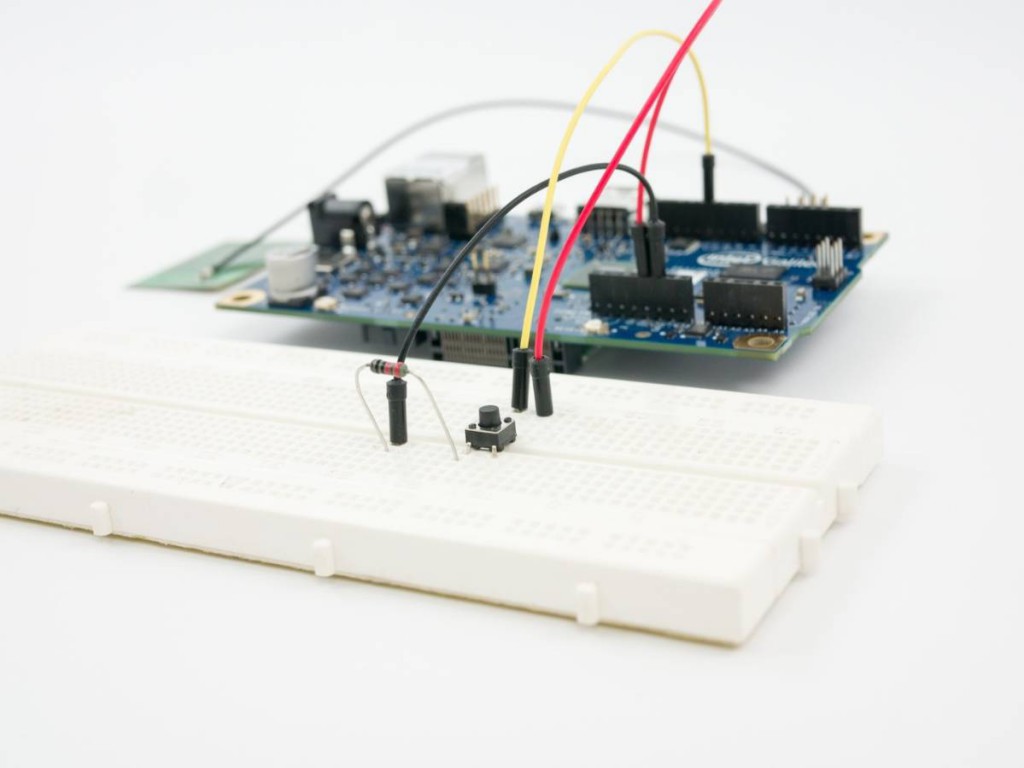
This tutorial will cover the basics of working with Linux by making a simple program that logs button presses. While the example is not very useful, it will help familiarize you with Linux as applied to the Intel® Galileo Gen 2.
Follow the link and explore all the steps
Leave a Reply
You must be logged in with your Arduino account to post a comment.